Starting a blog was the best decision I ever made.
Little did I know at 21 years old what this one blog had in store for me.
How could I? My journey since then has been nothing short of incredible.
From quitting my 9-5 job to becoming a location-independent entrepreneur and writing three Amazon bestselling books… to using the skills I learned blogging to build a six-figure digital marketing company in a few months time…. everything good in my career has come as a byproduct of this blog.
Now I make six figures a year from my TakeYourSuccess.com and Robben Media income. I’m 25 years old, have my dream job, financial freedom, and can work in any location across the world (with wifi of course ????).
That’s pretty cool considering I started this website in my college bedroom with no idea what I was doing.
What about you? Do you too want to blog, build an audience, and start a business? Excellent!
But I’ve found that the hardest part is simply getting started to create your website.
And it’d be a shame if you missed out on blogging and the life-changing results that come from it, because you couldn’t get your blog set up right.
That’s why I want to help you get started so you can take your blog as far as your wildest dreams lead you.
The following is a step-by-step instructional guide to help you get your WordPress blog set up on Bluehost.
Before we start, I’d love if you subscribed to my email list. I send just one email a week and it’s always really high value posts about what I did to gain financial freedom. Subscribe below if you’re up for it.
[activecampaign form=3]
Note: This page contains affiliate links. And while I do get a small commission when you purchase through one of these links, it doesn’t cost you anything additional to use that link, and of course, the products I recommend are the same ones I use myself and for my clients.
What’s Needed To Blog
If you’re new to the blogging world, then it’s easy to get confused on what you exactly need, and don’t need, to get started blogging.
The three key ingredients that are needed to blog are:
- a host (where your website files are stored)
- a domain (a URL that people can type in their browser or Google to find your site)
- a website (how your website looks and functions to visitors)
Fortunately, we can use Bluehost (a hosting company) to set up our host, domain, and website. I’ll show you exactly how to do that in the next section.
But before that, the reason I prefer Bluehost over all the other hosts out there is Bluehost offers reliable service and affordable plans from as low as $2.95/month. You also receive a free domain when you purchase your hosting. And their excellent customer support over the years is why I continue to trust Bluehost with my own websites and over 50 of my clients sites.
How To Start A WordPress Blog With Bluehost
Just follow these steps one by one and you’ll have set up your website in around 10 minutes.
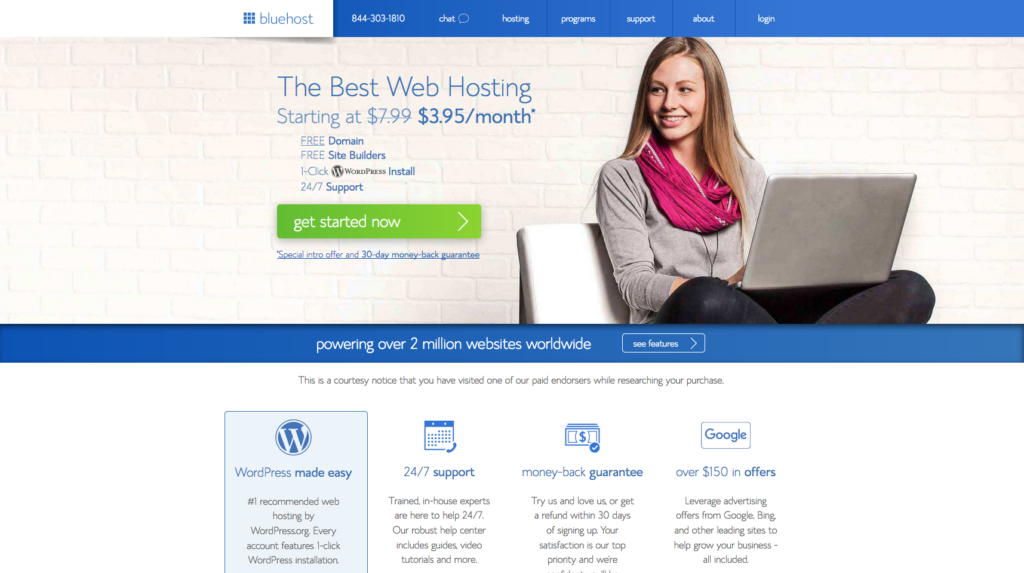
1. Go to Bluehost and click the “Get Started Now” button.
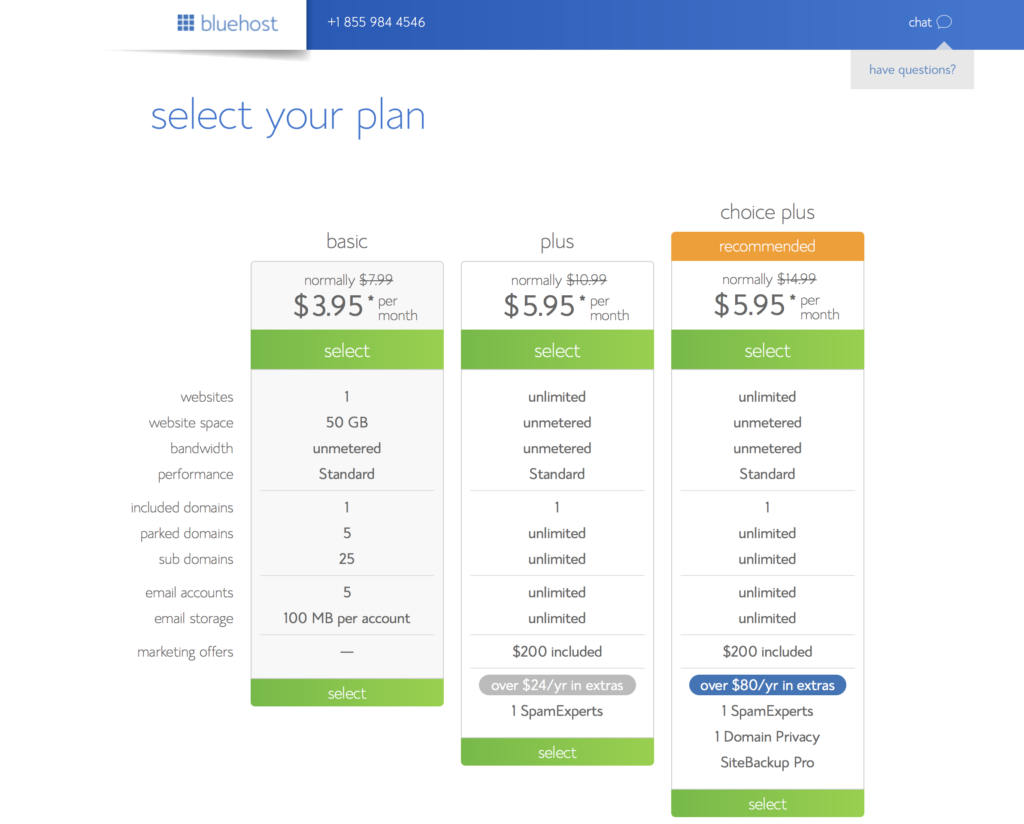
2. Select the hosting plan that is best for you. The basic plan is what I recommend for beginners.
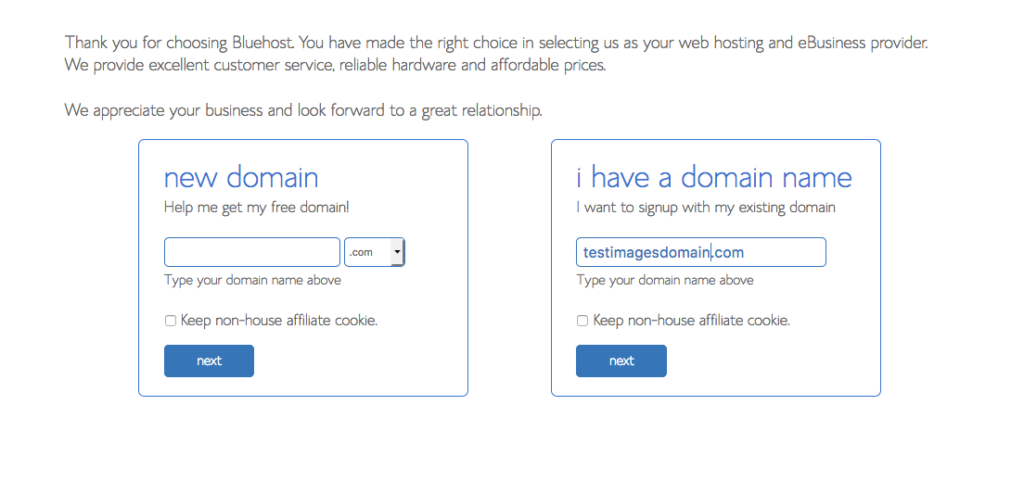
3. The next step is to choose a domain name for your website.
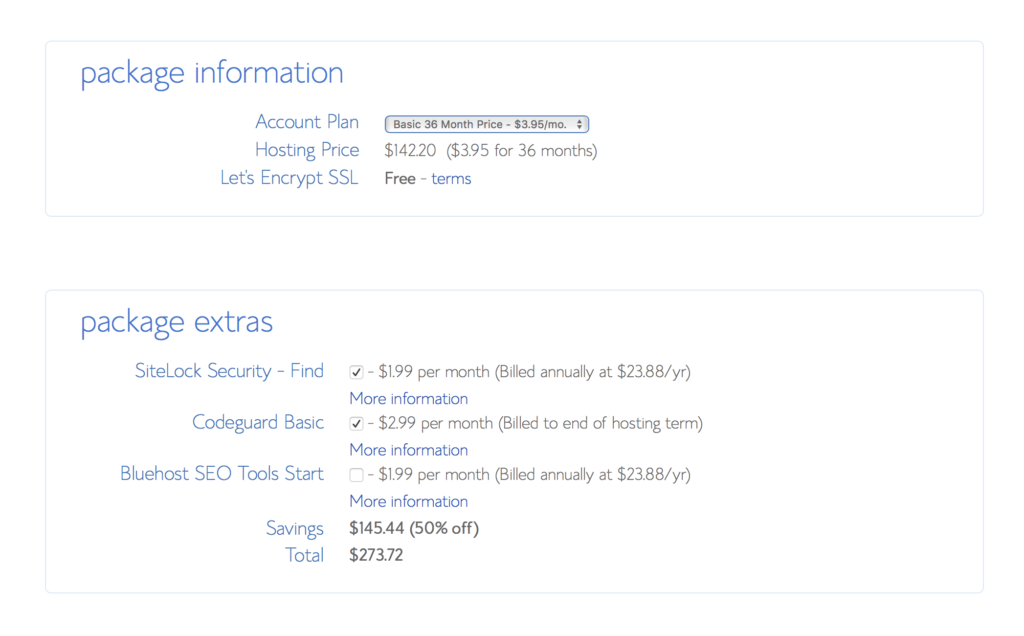
4. Once you’ve typed in a domain name, you’ll enter your personal information and select your hosting package (with pricing options at 12, 24 and 36 month terms).

If money is tight, go with the 12 month hosting plan. But if you want to help yourself mentally commit to blogging for the long haul (which is key to building a business off your blog), the 36-month plan offers the most value and lowest monthly rate. Then, click the “Submit” button.
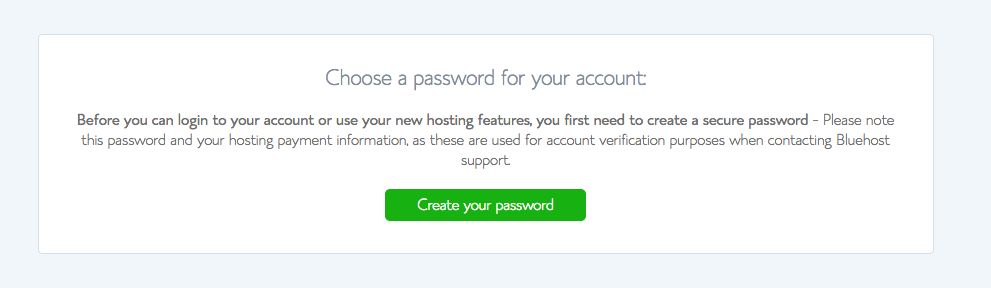
5. Next, you’ll need to create a password for your account.
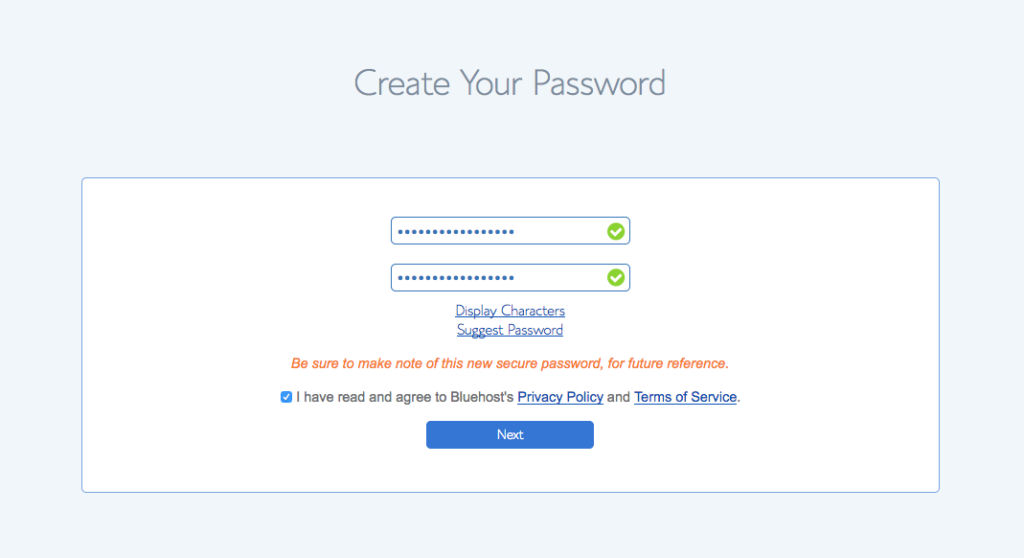
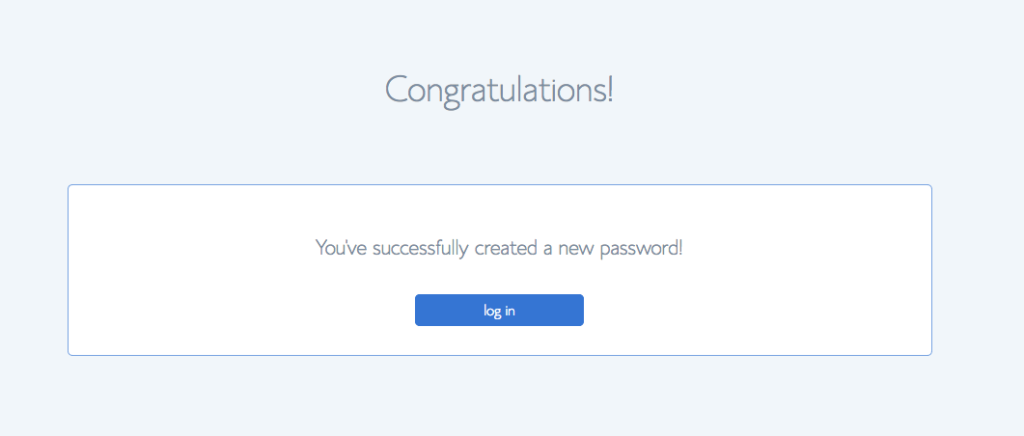
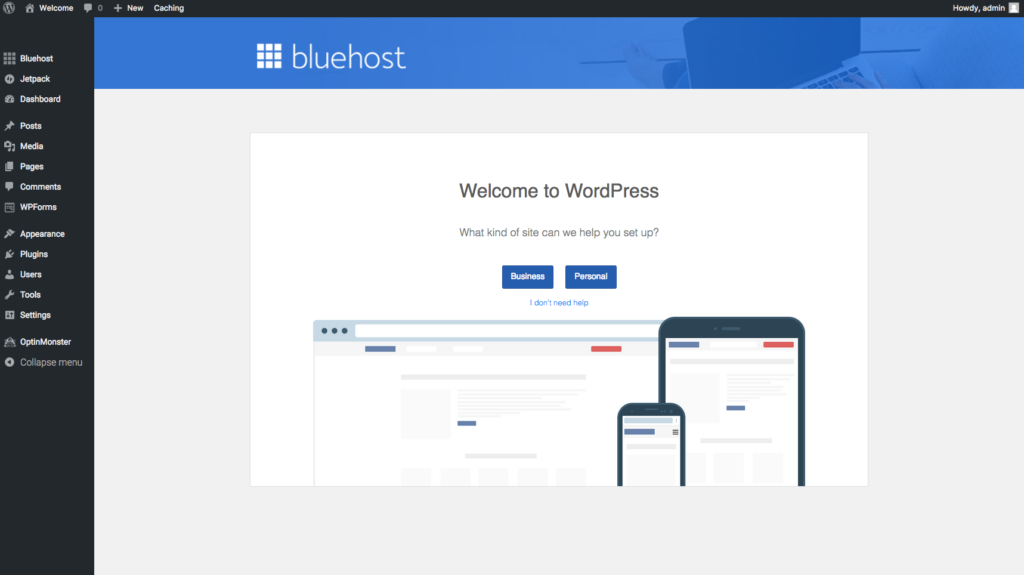
6. After choosing your password, WordPress is automatically installed in your Bluehost hosting. How convenient is that?
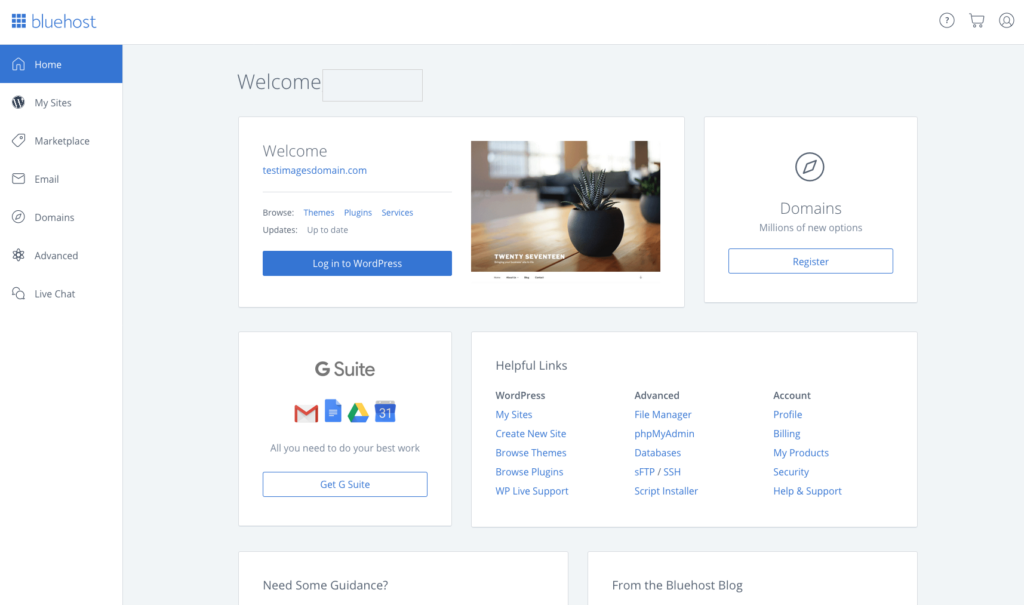
To log into your WordPress Dashboard, simply add /wp-admin to the end of your site’s URL (e.g. http://yourwebsite.com/wp-admin). And you can make your life easier by bookmarking this page so you don’t have to remember that URL in the future.
7. Next, it’s time to choose your WordPress theme — in other words, deciding how your blog is going to look.
You can either pick a free WordPress theme and make the best of it, or you can buy a premium theme.

Like many things in life, you often get what you pay for. So I recommend buying a theme on Themeforest. The reasons for doing so include:
- A better first impression and overall website appearance
- Easier solutions to capture email addresses or promote social media links
- More features for additional customization
- Less time spent designing the site
- And much more
8. Now it’s time to install your theme.
Login to your WordPress admin dashboard.
Then go to Appearance » Themes » Add New » Upload Theme. Choose the theme zip file from your computer, install it, and activate it.
9. Add website pages and blog posts to your site.
To write your first page, make your sure in your WordPress admin dashboard, then go to Pages » Add New. And to write a blog post, click on Posts » Add New.
Congratulations!
Your blog is ready to be launched and shown off to the world.
And now you have a website where you can start gaining traffic, fans, email subscribers, and eventually customers. Soon enough you’ll have a thriving business and growing online empire.
But before you draw up plans to conquer the Internet, give yourself credit for setting up a WordPress website all on your own. I knew you could do it.
[activecampaign form=3]